
Know the blur technique vs the blur tool
With the digital world of photography being so full of information, I have noticed that sometimes the information between “in the field techniques” and “digital manipulation effect” after the fact is sometimes misrepresented. Being able to understand and master either is in my opinion important to the development and growth of your photography if you are wanting to expand your knowledge.
One that I see more and more is the use of the term “radial blur” by some photographers as a technique for in the field image (actually zoom blur) but in actual fact, this is a manipulation tool in the development software Photoshop CC. Some more vibrant wildlife photographers/guides / hosts may not agree with my point of view but that I guess is par for the course in a very competitive world of professional Nature Photography blogs and vlogs. My aim is to help share what I have learned in the field and digital darkroom in a simple and practical way. So here we go, In-camera blur techniques and then the radial blur tool on Photoshop cc.
1 – Zoom Blur (Also called Zoom Burst)
This is the technique where one uses a slow shutter speed, your zoom lens and the centre focus point to create the zoomed effect like a tunnel to a central point in your image. This is the most widely used technique that is referred to incorrectly as ” radial blur”
You need to consider the following points:
- Keep the camera still
- While zooming in and out, keep the speed constant to ensure you can get some directionality at the centre point of your zoom
- Set the camera to high-speed burst mode and keep the shutter depressed to capture frames on the in zoom and on the out zoom.
- Using TV mode (shutter priority) and a low ISO will increase the possibility of getting the image you want
- Avoiding high contrast between light and dark in the scene will also help your strike rate. It normally works well with constant lighting and on overcast days.
- Using your crop tool you can also add composition value after you have started to view your captured images.
- Practise, Practise, Practise and you will get lucky

Alternatively, you can extend the shutter speed to an extremely long exposure (few seconds) and slowly turn the zoom barrel to create the spectacular rays of light when you have great contrast in your images. Used often in the Landscape genre for this and in the evening for starbursts,

2 – Spiral / Spin Blur
This is the technique where one uses a slow shutter speed, your fixed lens and the centre focus point to create the circular rotation effect of the whole frame. It is a creative form of photographic experimentation.
You need to consider the following points:
- Keep the camera on a level plane as much as possible. rotate it on a level access
- While turning keep the speed constant to ensure you can get some directionality at the centre point of your zoom
- Set the camera to high-speed burst mode and keep the shutter depressed to capture frames on the twist motion as you move the camera in a circular motion.
- Using TV mode (shutter priority) and a low ISO will increase the possibility of getting the image you want
- Practise, Practise, Practise and you will get lucky

Alternatively, you can extend the shutter speed to an extremely long exposure (few seconds) and slowly turn the camera in any other direction to start creating more unique images and or points of view. This is what you can achieve using a tripod and moving the camera.

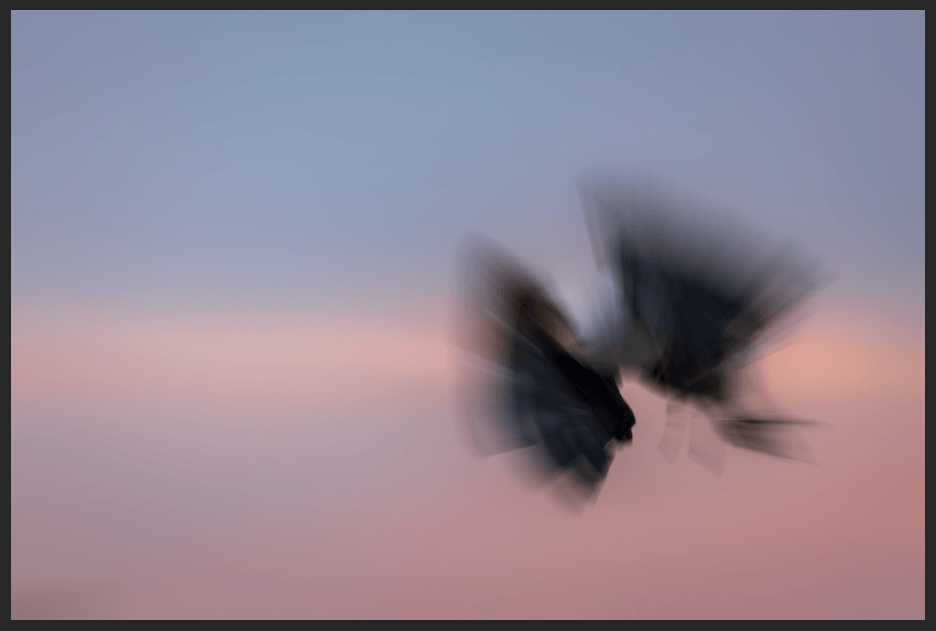
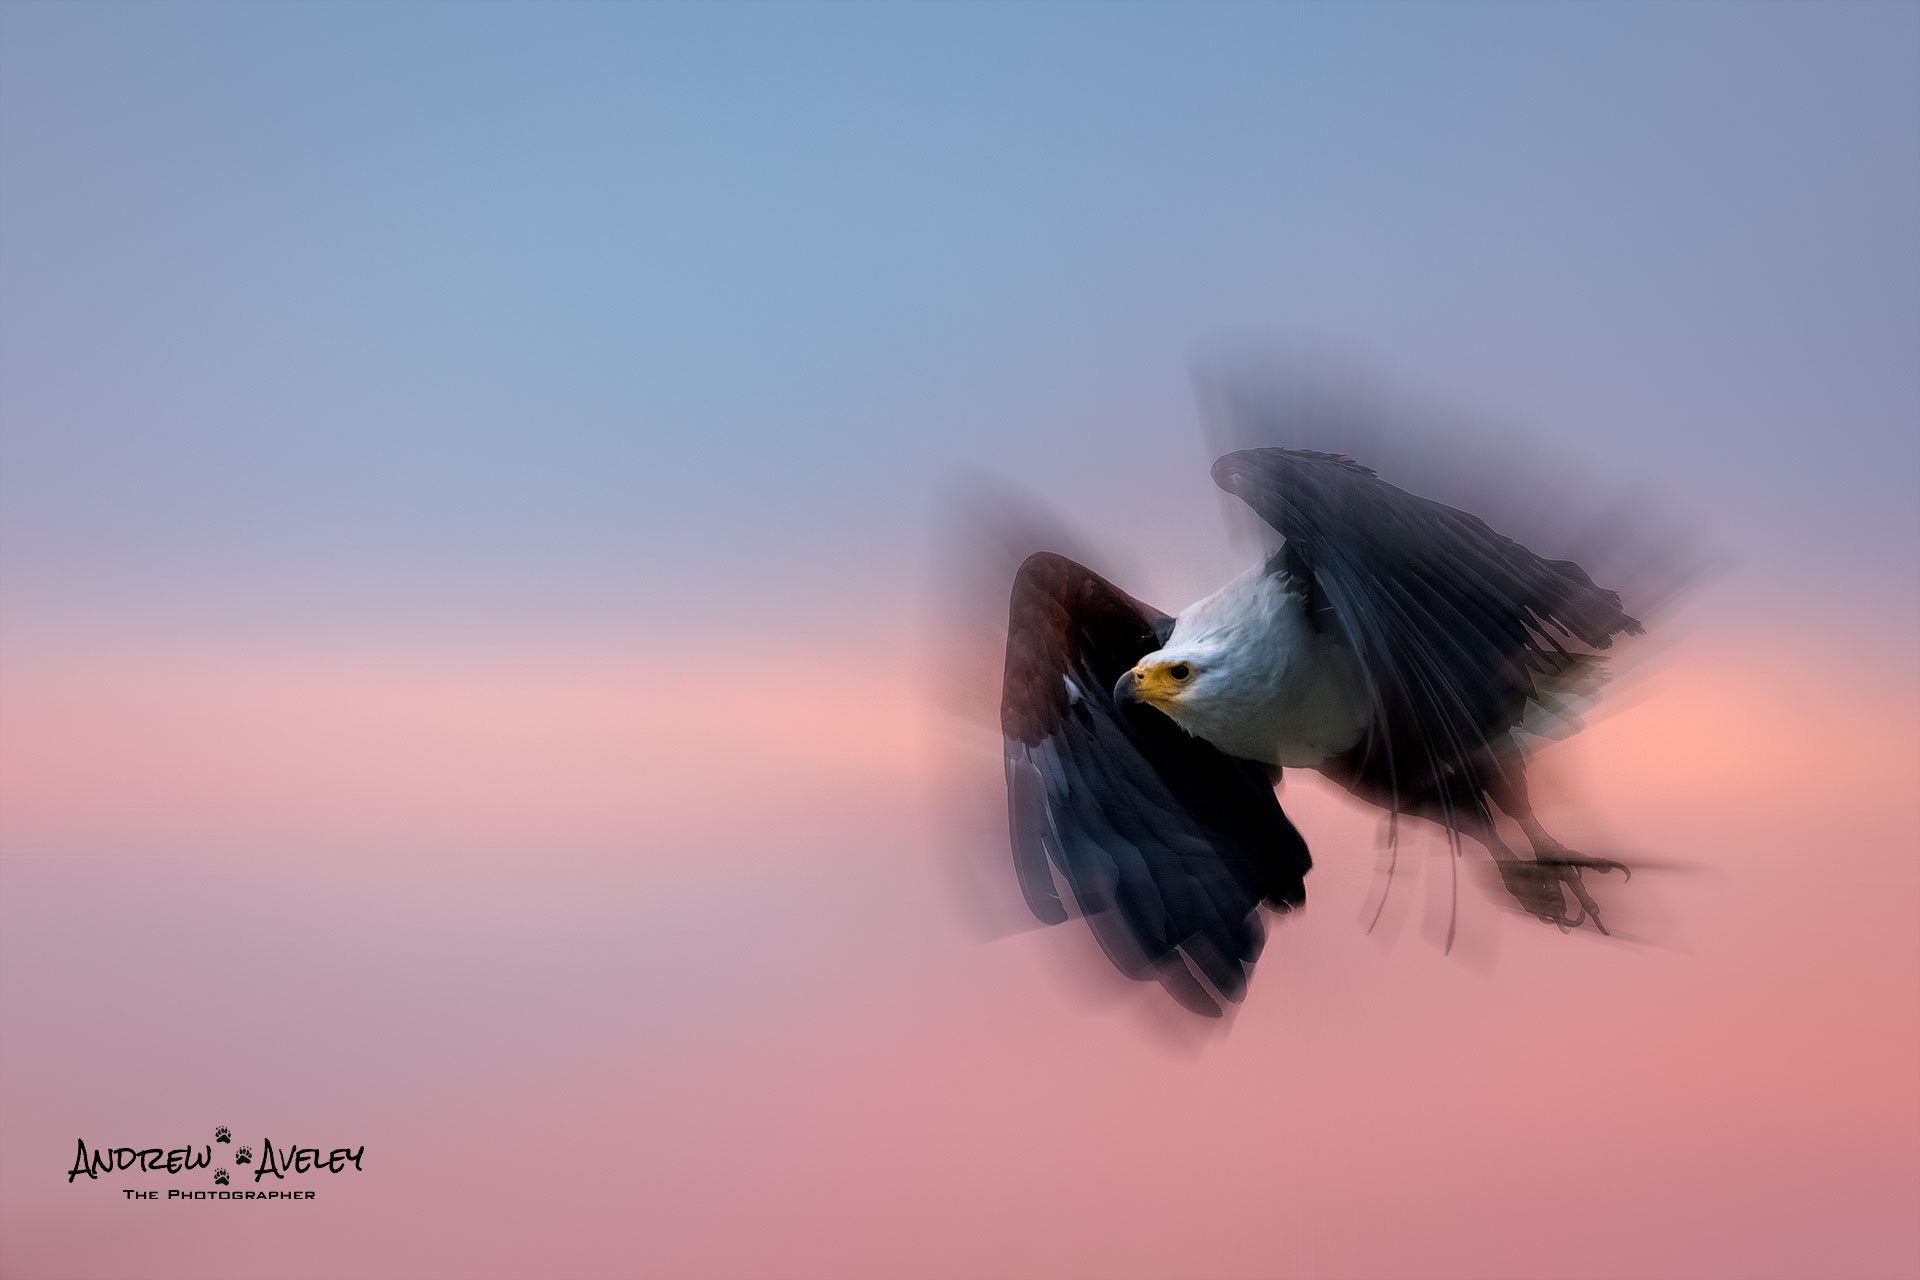
3 – Radial Blur “The Filter”
I have chosen an image in my library to show you the effect you can create in Photoshop CC. This is not the most perfect image but for me shows the point of the tools the radial blur effect has in post-processing. I have followed one of many tutorials on the web, but this one is for me the most simple. I have added my own workflow to an already well publish tutorial online:

Step 1: Convert The Background Layer Into A Smart Object
We’ll start by converting the layer into a Smart Object. This way, we’ll be protecting the original image, and we’ll be able to apply the Radial Blur filter as a Smart Filter, keeping it fully editable and not having a destructive effect on the original layer

Step 2: Apply The Radial Blur Filter
With our layer now converted to a Smart Object, we’re ready to apply the Radial Blur filter. Go up to the Filter menu in the Menu Bar along the top of the screen, choose Blur, then choose Radial Blur. Here we control the amount and can position the centre of the blur anywhere on the image

Step 3: Re-Open The Radial Blur Smart Filter And Make Changes As Needed
The first attempt with the Radial Blur filter isn’t bad, but I can go back as many times as I want and re-apply the Radial Blur filter with different settings until I get the effect looking just right. The reason is that we applied the filter to a Smart Object, which means Photoshop converted it to a fully editable Smart Filter. If we look below the Smart Object in the Layers panel, we can see Radial Blur now listed as a Smart Filter. To edit the filter’s settings, all we need to do is double-click on its name:
Step 4: Select The Smart Filter’s Mask
Now that I have created the main zoom effect, I use the built-in Smart Filter layer mask to bring back some of our original images through the zoom effect. First, we need to select the mask, so click on the Smart Filter’s mask thumbnail in the Layer’s panel.

Step 5: The Gradient Tool
Next, select Photoshop’s Gradient Tool from the Tools panel. Now click on the Radial Gradient icon in the Options Bar.Still, in the Options Bar, click on the small triangle icon. This opens the Gradient Picker. Select the Black, White gradient by double-clicking on its thumbnail.
Step 8: Drag Out a Gradient Across Your Main Subject
Click with the Gradient Tool in the spot where the zoom effect is originating from, then keep your mouse button held down and drag outward from that spot towards one of the edges of the image

Step 9: Lower The Filter’s Opacity
If you find that your zoom effect is too intense, simply lower its opacity. Double-click on the Radial Blur filter’s Blending Options icon in the Layers panel:

And here we go, the Radial Blur Effect in post-processing:
I hope you find this information interesting and that it will help you be more creative in the field.
Peace and Light – AA